Introduction
In today’s fast-paced digital world, website performance is crucial for user experience and SEO rankings. One of the most significant factors affecting page load times is image optimization. The Effective Image Optimizer plugin for WordPress provides a comprehensive solution to tackle this challenge head-on.
In this article, we’ll explore how this powerful plugin can transform your website’s media management, improve loading speeds, and enhance your overall WordPress experience.
Why Image Optimization Matters
Before diving into the plugin’s features, let’s understand why image optimization is essential:
- Faster page load times: Optimized images load quicker, improving user experience
- Better SEO rankings: Search engines favor fast-loading websites
- Reduced bandwidth usage: Saves hosting costs and benefits mobile users
- Improved conversion rates: Faster sites typically see higher conversion rates
Key Features of Effective Image Optimizer
1. Comprehensive Optimization Tools
The plugin offers a complete suite of optimization features:
- Batch optimization of your entire media library
- WebP conversion with automatic browser detection
- PNG to JPG conversion for further size reduction
- EXIF data removal for privacy and additional savings
- Image resizing with aspect ratio preservation
2. Backup and Restoration
Never worry about losing original images:
- Automatic backups before optimization
- Bulk restoration capabilities
- Complete history tracking
3. Advanced WP-CLI Integration
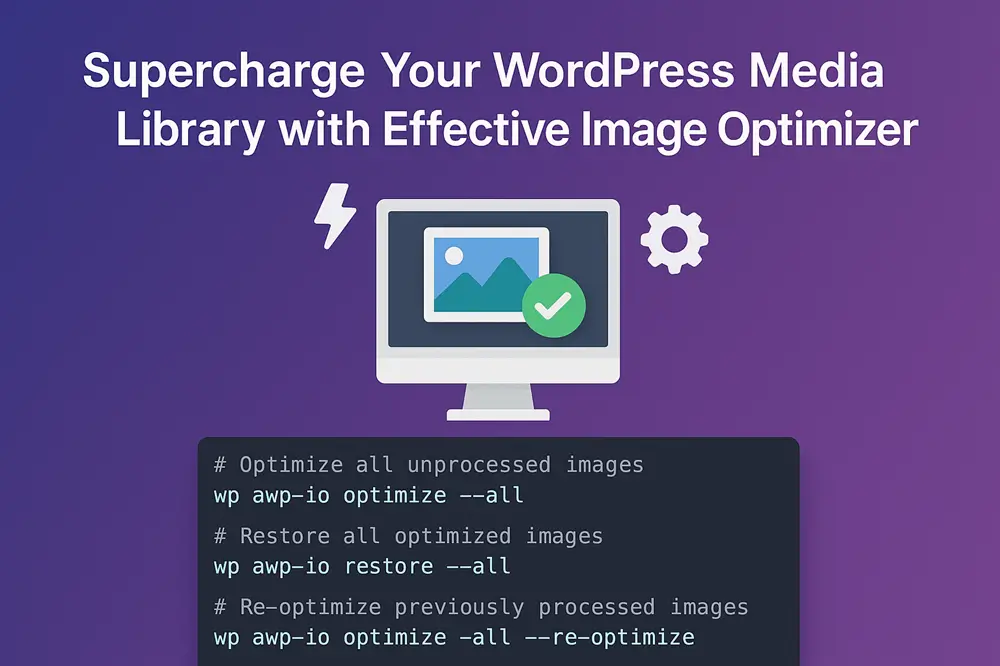
For power users, the plugin offers robust command-line tools:
# Optimize all unprocessed images
wp awp-io optimize --all

# Restore all optimized images
wp awp-io restore --all

# Re-optimize previously processed images
wp awp-io optimize --all --re-optimize
4. Cloudflare Integration
The plugin seamlessly works with Cloudflare:
- Automatic updates to Cloudflare after optimization
- Cache management for optimized images
Getting Started with Effective Image Optimizer
Installation and Setup
- Install the plugin via WordPress admin
- Navigate to the settings page (Admin → Settings → Effective Image Optimizer)
- Configure your optimization preferences
- Run your first bulk optimization
Recommended Settings
For most websites, we recommend:
- Enable WebP conversion
- Enable PNG to JPG conversion for non-transparent images
- Convert Images to WebP on Upload
- Enable automatic optimization on upload
Advanced Usage and Customization
Using Actions and Filters
Developers can extend functionality using hooks:
// Example: Adding custom thumbnail sizes to exclude
add_filter('awp_image_optimizer_excluded_thumbnails', function($excluded_sizes) {
$excluded_sizes[] = 'custom-thumb-size';
return $excluded_sizes;
});

// Example: Tracking after optimization
add_action('awp_image_optimization_completed', function($attachment_id, $optimization_data) {
// Log optimization results
error_log("Optimized attachment $attachment_id. Saved: {$optimization_data['saved']} bytes");
}, 10, 2);
Conclusion
The Effective Image Optimizer plugin provides WordPress site owners with a powerful, all-in-one solution for image optimization. From automatic WebP conversion to bulk processing and Cloudflare integration, it addresses every aspect of modern image optimization needs.
By implementing this plugin and following best practices, you can significantly improve your website’s performance, enhance user experience, and boost your SEO rankings—all while maintaining full control over your media library.
Ready to optimize your images? Get Effective Image Optimizer today and experience the difference in your website’s performance!